ENDGAME • 8 min read
Difficulty Modifiers Explained: Challenge Cards, Risks and Rewards
Understand modifiers before activating them, match risks to your build and choose rewards that improve the run rather than sabotage it.
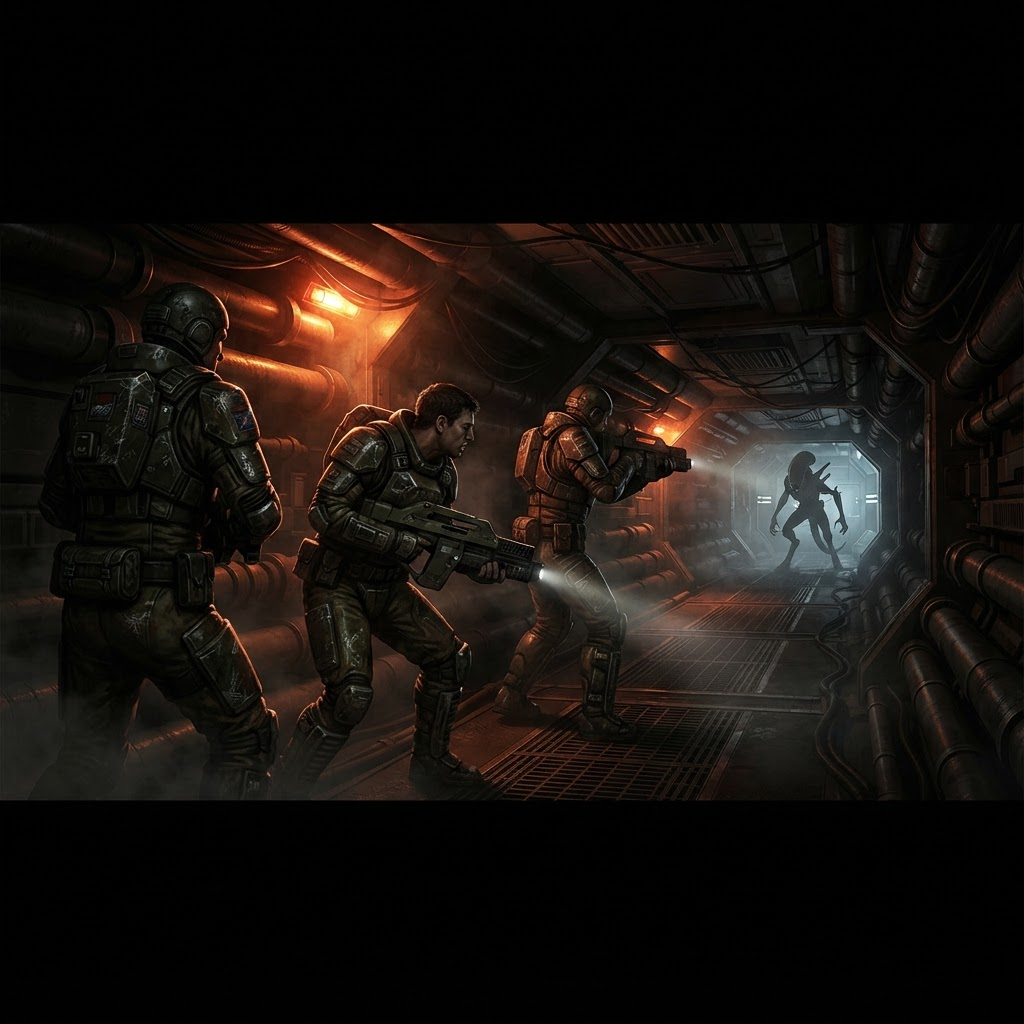
Read the failure condition first
A challenge card is only valuable when the squad can explain how it fails. Read the restriction, identify the affected phase and choose a formation that protects against it. Extra rewards never compensate for a card that removes the team’s only reliable answer.
Discuss the card before the loading screen. The activator should name the main risk and the adjustment: slower movement, stricter ammo discipline, saved ultimates or a different weapon range.
Match modifiers to squad strengths
Precision squads can often handle more health, while close-range teams may struggle with movement restrictions. A support-heavy group can absorb attrition, but a glass-cannon group should prefer a shorter, more controlled risk.
- Avoid stacking two cards that attack the same resource.
- Choose cards that test a skill your squad is practicing.
- Reserve a reliable build for reward runs.
- Abort early when the failure condition becomes unavoidable.
Turn risk into progression
Use cards as experiments with a goal: unlock a weapon tier, test a perk or learn a wave route. Record what changed and keep only the modifier that creates a repeatable, enjoyable challenge.
Frequently asked questions
When should I use challenge cards?
Use them after the squad understands the mission route and can name the exact resource or behavior the card will test.
Are higher rewards always better?
Only when the card’s failure condition is compatible with your team’s build, communication and current difficulty.