CLASSES & BUILDS • 9 min read
Controller & Support Builds: Lock Down Waves and Save Runs
Build the two most forgiving squad roles around space control, revive safety and ability timing.
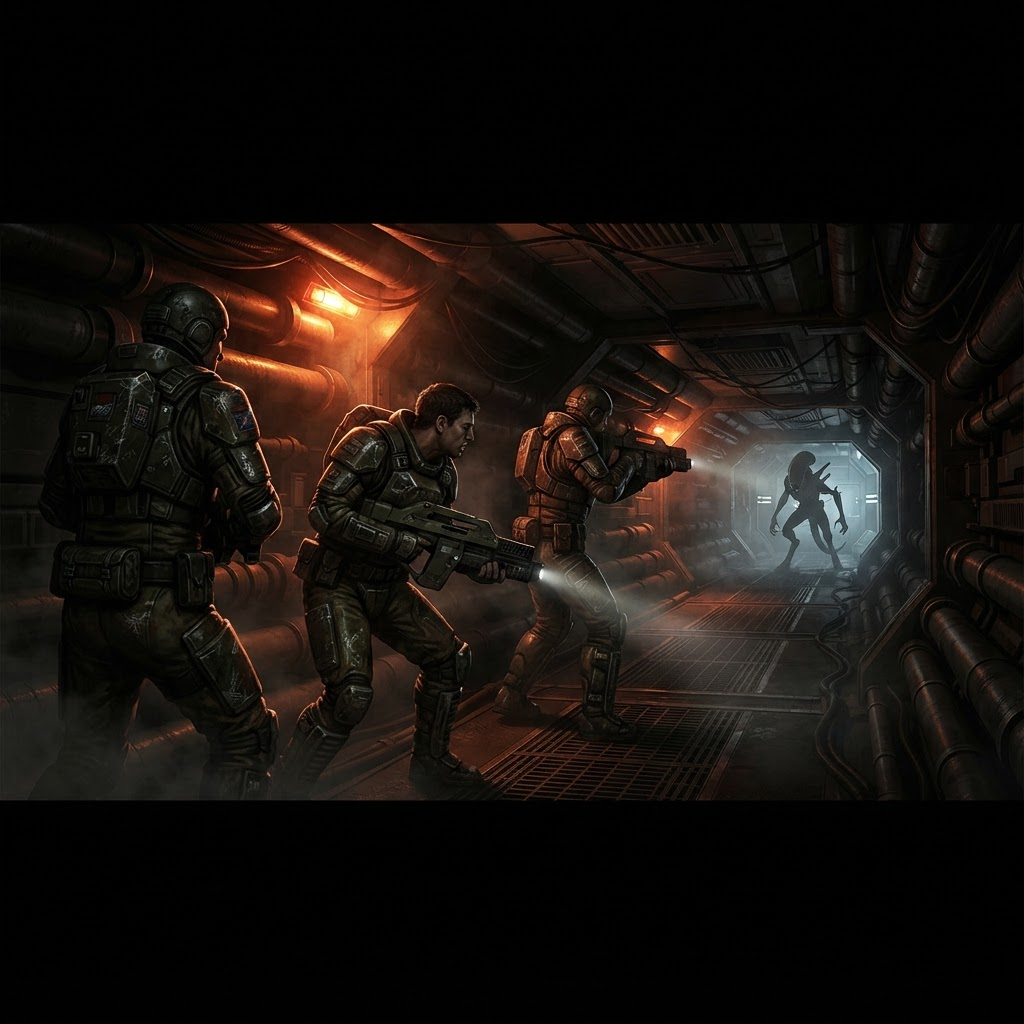
Control the space enemies must use
A controller is strongest when the ability lands at a spawn door, ramp or narrow approach. Placement matters more than raw damage. Slow the wave before it reaches the squad, then let the damage players finish targets without losing their firing lane.
Avoid using every charge on basic enemies. Hold one tool for the special that follows the first group or for the retreat when the arena closes.
Support is proactive, not reactive
Support builds should prevent emergencies rather than wait for a teammate to fall. Use defensive windows before the team reaches critical health and position yourself where a revive can happen behind cover. Your survival is a team resource, so do not trade yourself for a low-probability revive.
- Favor duration, radius and cooldown over isolated damage.
- Stand near the fallback route, not in front of every target.
- Announce when your revive or defensive tool is ready.
- Keep a weapon that handles runners while you support.
Pair control with burst damage
The ideal pairing is simple: control holds the wave, burst deletes the priority target and support preserves the formation. Communicate the order so the squad does not spend damage before the special is pinned in place.
Frequently asked questions
Is a support class required?
No, but support or control makes difficult missions more forgiving by preserving space and recovery options.
Where should control abilities go?
Place them on the route enemies must cross, ideally before the wave reaches the squad’s firing position.