CLASSES & BUILDS • 12 min read
Best Classes & Builds for Every Fireteam Role
Build your fireteam around a clear job: anchor the lane, control the horde, burst elite targets or keep the squad alive through long objectives.
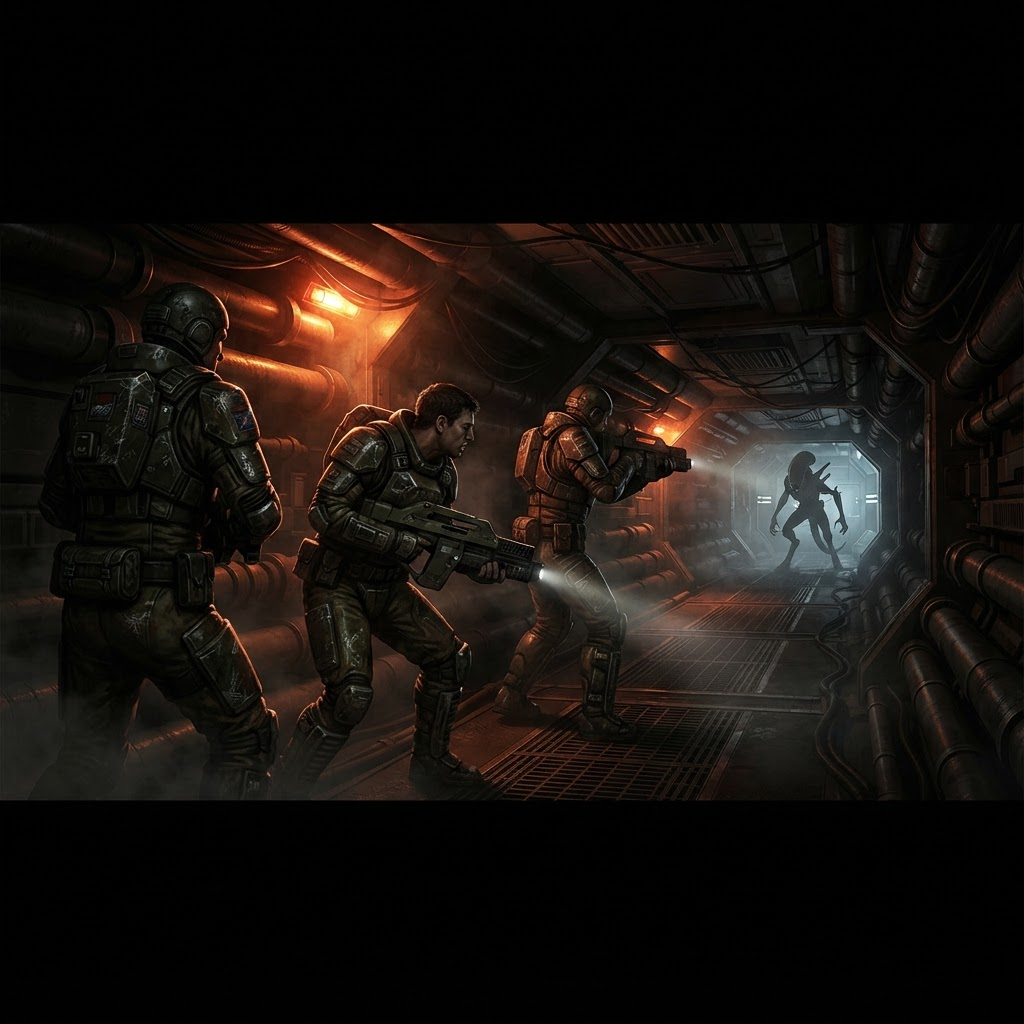
Build around a job, not a tier list
The strongest class in Aliens: Fireteam Elite 2 changes with the mission. Tight corridors reward crowd control, open rooms reward precision damage, and long objective holds favor sustain. A good squad covers three jobs: a reliable lane holder, a wave-control specialist and a damage dealer who can delete specials.
When comparing classes, evaluate ability uptime, safe damage range and how much a mistake costs the team. A build that looks slower on a target dummy can be stronger in a real mission if it buys space during a spawn.
The anchor: reliable frontline damage
The anchor build uses a stable rifle, recoil-friendly attachments and perks that improve accuracy after movement. Your goal is not to stand in front of the team; it is to create a predictable firing lane and stop the first enemy from reaching the backline. Hold a corner, keep your crosshair at head height and rotate only when the objective requires it.
Use a defensive ability before the wave reaches the team, not after the formation collapses. The best anchor players communicate the next retreat position so the squad never has to improvise while surrounded.
- Prioritize magazine efficiency over maximum burst.
- Choose one perk for weak-point damage and one for ability cooldown.
- Keep a close-range sidearm for runners that breach the line.
The controller: win the spawn door
A controller turns a difficult wave into a manageable queue. Slow, stagger, knockback and area damage are most valuable when placed at the entrance enemies must use. Do not spend every charge on the first five drones; stagger your tools so the team always has an answer for the second spawn and the special that follows it.
Controller builds should favor radius, duration and cooldown recovery. Damage is useful, but control is what lets three players focus fire without being forced to reload while surrounded.
The support: sustain and recovery
Support builds make the team more consistent. Build around healing efficiency, revive speed and resource generation, then carry a weapon that can protect you while you work. Your first responsibility is to stay alive: a support down during a long objective usually ends the run because the squad loses both recovery and damage stability.
Use support abilities before the team is critical. A small heal or defensive window at the start of an escalation can prevent a panic revive chain later.
Perk grid priorities
Fill the grid in layers. First establish the class ability you use every encounter, then add weapon handling or weak-point perks, and only then add niche bonuses. Test one change at a time in the same mission so you can tell whether the perk changed your clear or the mission simply rolled an easier wave.
Frequently asked questions
How many damage classes should a squad use?
Two damage-capable players are usually enough when the third player brings meaningful control or sustain.
Are cooldown perks better than damage perks?
Choose cooldown perks when your ability controls a spawn or saves revives. Choose damage perks when the squad already has reliable space.